Posted By: B4C Admin
Remove Mods
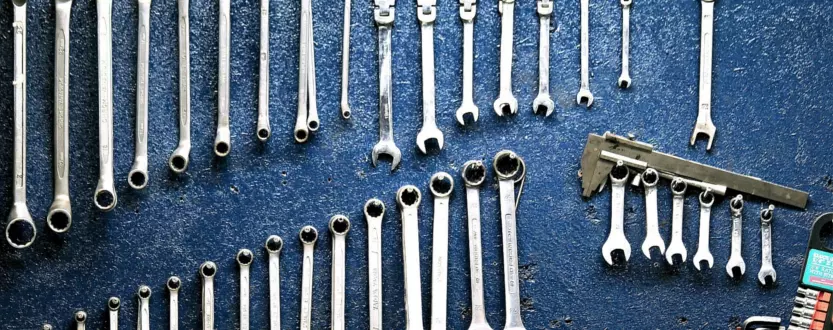
If you're planning on selling your motorcycle with the mods attached, you can skip this step. If you plan on using your current mods on your next bike, remove them carefully so not to scratch or damage your bike.
It's also worth mentioning that keeping your stock parts after you fitted your mod goes a long way. You can increase your sell price by fitting the stock parts back onto the bike, so it's worth keeping them lying about!
Perform Pre-Ride Checks.. In Detail!
I'm sure we've all been a little bit guilty at some point in our motorcycling lifetime. A time when we didn't do checks as often as one should. But when it comes to selling your two-wheeled comrade, the least we can do is make sure they're in tip-top shape.
If you're not sure what the checks are it is: POWDERS
Petrol
This may seem pretty obvious, but ideally the person buying your bike will want to ride away on it. The HUD/analogue dials aren't always 100% accurate - it does a really good job at it, but it's never really 100%. The best way may be more obvious than you think...
Open up the fuel cap and take a look! Simple huh? Remember that the best reading comes from a bike that's held up instead of being on it's sidestand. This ensures the bike isn't sloped, causing one side of liquid within the container to be higher than the other side - causing inaccurate readings.
Oil
Another one that requires the bike to be level and not on it's side-stand. Oil is the magic that keeps your engine running smoothly. This ensures that the parts that make up your engine slide smoothly, reducing wear and tear whilst increasing your engine lifetime.
Bikes nowadays have two main ways of checking oil and which way you use may depend on your bike model.
Dipstick
On your engine you should find a screwable plug. Usually black and usually found on the top-side of the engine case. To check, I'd recommend leaving your engine on for a minute or two to warm up your bike before unscrewing it. Wipe it on an old cloth or something before screwing it back in and unscrewing. The dipstick should have indicators on it to inform the person looking at what level the oil is at.
Sight Glass
This one is a lot simpler than the dipstick - simply get the bike level and peer into engine sight glass. For me (bike being a ‘19 CB 500 F), it's located towards the bottom of the engine.
Previous Owners
Typically the sale price goes down when there are more previous owners.
Water
This one is just an eyeball of the overflow tank when the bike is (again) level. You could also take a ganders at the radiator itself, just make sure that your engine is cool. Unless, you want to be scalded.
Drive-chain
One of the most important parts for your bike, and like everything else, it needs it's TLC. Make sure the chain isn't grimy or dry. If it's grimy, wash it with chain cleaner and use an old manual toothbrush to really get that dirt off. After you've cleaned it, dry it off and lube. There are different types of lube, I personally use sprays but I can imagine you get a better result from the types that you brush on and into the chain.
Make sure the chain isn't too tight or too loose - you can find out what the slack is meant to be by referring to your owner's manual. For my bike, it's 30mm (3cm). The chain should be measured at it's tightest point and is best measured at the centre point of the chain.
Also ensure that both front and rear sprocket's teeth are in good shape, it's important that the chain is able to do it's thing smoothly and having damaged teeth can lead to faster wear-and-tear on your chain.
Electrics
This is one of the quicker checks, simply turn on your bike, make sure the lights worked (in dipped and full beam), make sure the brake lights work, the indicators, your HUD if you have one, your horn and any other electric-powered gizmo you may have. It's worth noting that some bikes require the engine to be on before certain electronics work and if that's the case, ensure you've switched on your bike before testing.
Rubber
I hopefully don't have to explain the importance of having your tyre in pristine condition. Your tyre is gripping to the asphalt (or wherever your two-wheeled adventures take you) and keeping you up - you're going to want to keep them healthy.
Spin the tyre slowly and keep your eyes out for any splits, tears, punctures or any other issue that may appear. Make sure your air pressure is the correct setting - again this info can be found in your owner's manual.
Stopping/Self
You should make sure your brakes, both front and rear, work. Your brakes could be the few seconds you need between life and death and it is not something to skip over when you perform your checks.
It's also really important to make sure you're OK to ride. If you're overly-tired, super hot-headed, ill, injured, intoxicated or even if you're just feeling meh - you may want to rethink saddling up. Motorcycles are very reactive-based and the focus itself can be very tiring, especially if it's an eventful ride. You need to make sure you're ready to handle anything.
Repair Your Machine
By doing your pre-ride checks now, you should be able to stop little things that may hinder the bikes performance and safety, as well as value. Some people like to do the cleaning stage first as it allows them to get up and close to the bike to see all potential repairs. I prefer doing the pre-ride checks as it kills two birds with one stone: 1) ensures your bike is safe and 2) allows you to identify any issues.
I won't go into how to fix every possible break on a bike here, I think we'd take down the internet if we even remotely tried to do that.
Road Test
After doing your checks, take it for a ride - nothing major. Just a 3-mile round trip to ensure the bike actually works. If you have any doubts, trust your gut and inspect the bike further.
If everything feels a-ok, then you're OK to start the cleaning process!
Tender Loving Care
The reason I personally clean last is because I'm clumsy. There's a good chance I can get my bike dirty during repairs, so that's why I do it last. But this is a preference of mine, you're free to do this process in any order that suits you.
Be sure that if you're using a jet washer that you don't stand to close to your bike, the paint will disappear a lot quicker than you think. If you're being over zealous, you could also blast the grease from your wheel bearings. Muc Off have recently released a bike-specific pressure washer that is safe on bearings and other small things like that. If you don't have access to all that, a good ol' fashion hose and hand technique is still good.
Boring Stuff
Once you've finished with the bike and feel like you'd be happy to buy it yourself, then you're finished the fun steps. Now it's the boring paperwork side of it, gather everything related to your bike. Service history, spare keys, MOT documents etc.
If possible try to have it all in one binder or folder, allowing you to hand it all over without faffing about the place trying to find everything once the sale has been agreed. It looks a lot more professional to give them something like a folder as well as being faster than running around like a headless chicken.
That's pretty much it, once you've done all that, you're ready to sell! Keep the mileage down and only ride it if you have to, you want the smallest mileage addition from the point of selling to sale made.
Now all you need to do is choose a method to sell your bike. I wonder where you can find good value for your bike...?